Mongo DB 연동 I - mongoose
이번장에서는 node.js 와 데이터베이스 연동에 대해 알아보겠습니다. 상용으로 공개되어 있는 다수의 RDB와 Nosql 등의 데이터베이스 서버가 있지만 node.js 와 같이 사용했을 때 효율적이라고 할 수 있는 Nosql DB 중에 가장 널리 알려진 Mongo DB를 사용해 보겠습니다.
가.Mongo DB 설치
Mongo DB 는 node.js 처럼 하나의 독립적인 서버 프로그램입니다. 아래 사이트에서 설치 프로그램을 다운로드 받아서 설치합니다.
- Mongo DB 공식사이트 : https://www.mongodb.com
나.Mongo DB 실행
설치폴더로 이동하면 MongoDB/Server/버전/bin 폴더에 여러개의 실행파일이 있는데 각각은 아래와 같은 기능을 합니다.
| 파일명 | 기능 |
|---|---|
| mongod.exe | Server |
| mongos.exe | Router |
| mongo.exe | Client |
| mongostat.exe, mongotop.exe | MonitoringTools |
| mongodump.exe, mongorestore.exe, mongoexport.exe, mongoimport.exe | ImportExportTools |
| bsondump.exe, mongofiles.exe, mongooplog.exe, mongoperf.exe | MiscellaneousTools |
(출처 : https://www.mongodb.com )
서버를 구동하기 위해 mongod.exe 파일을 실행하는데 데이터들이 저장될 경로를 특정해 주는것이 관리를 위해서 좋습니다.
먼저 MongoDB 설치폴더 아래에 데이터를 저장할 datas 폴더를 생성해줍니다.
- 설치폴더/MongoDB/datas
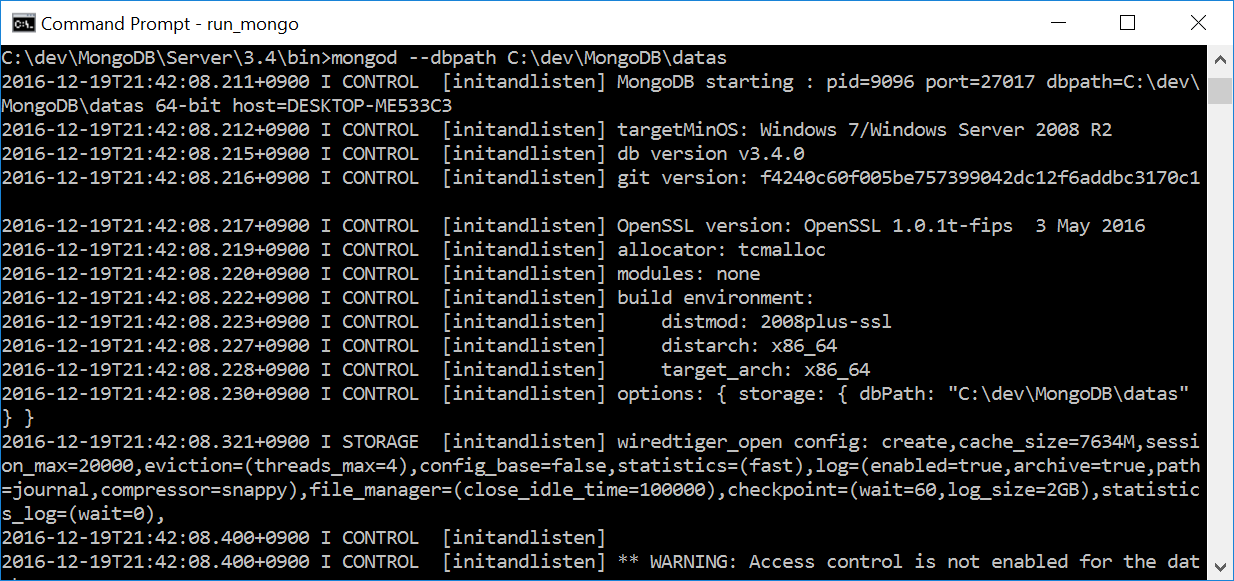
이제 mongod.exe 파일이 있는 bin 폴더로 이동해서 아래와 같은 명령어를 실행합니다.
mongod --dbpath 설치폴더\MongoDB\datas
서버가 실행되고 아래와 같이 로그가 출력됩니다.
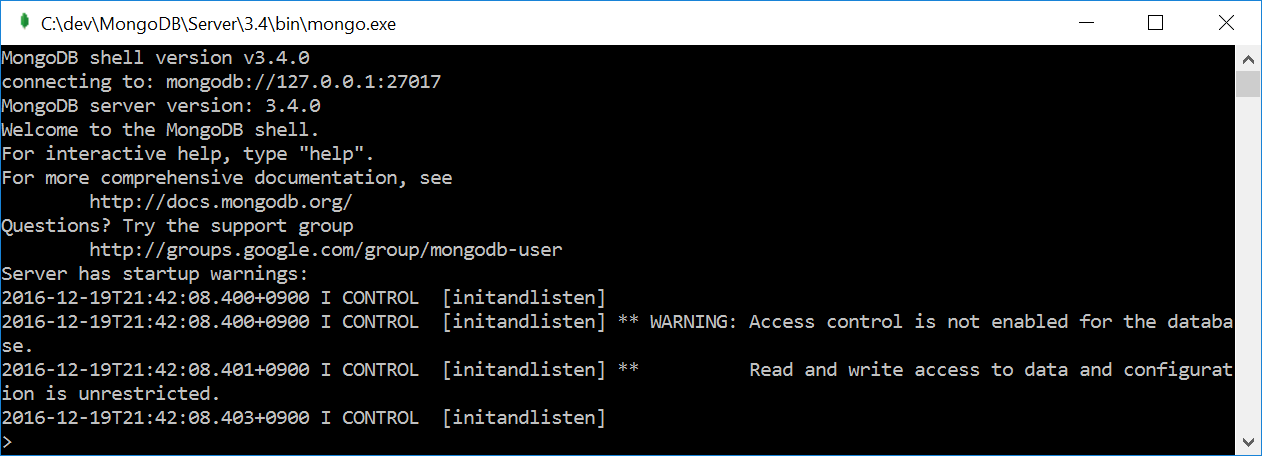
다.Mongo DB 접속
서버가 구동되어 있는 상태에서 mongo.exe 파일을 실행하면 클라이언트 shell 로 DB에 접속이 가능합니다. 더블클릭해서 실행하면 아래와 같은 shell 창이 나타납니다.
라. Mongo DB 데이터 입출력
이제 shell 상에서 테스트 데이터를 입력해보겠습니다. 아래와 같이 입력하고 엔터키를 누릅니다.
> db.collection.insert({test:'newValue'})
textKey 가 이름이고 "newValue" 라는 값을 가진 데이터를 입력하는 명령어입니다. 입력된 값을 확인하기 위해 아래와 같이 입력하고 결과를 엔터키를 누릅니다.
> db.collection.find()
정상적으로 처리되었다면 아래와 같이 입력 성공메시지와 find() 결과값이 출력됩니다.

마. node.js + Mongo DB 연동
이제 node.js 에서 Mongo DB를 연동해서 사용해 보도록 하겠습니다. 연동하기 위해서는 연동을 위한 외부 모듈이 있어야 합니다. 가장 많이 사용되는 mongoose 를 사용해서 연동하겠습니다.
mongoose 를 사용하는 이유는 Nosql 에는 Scheme 라는 개념이 없지만 마치 RDB 의 설계도 처럼 Mongo DB에서 Scheme 를 사용할 수 있게 됩니다.
1.먼저 CMD창을 열고 npm으로 mongoose 모듈을 설치합니다.
- npm install mongoose
2.몽고프로젝트 폴더를 하나 생성합니다.
- server_mongo
3.서버파일을 생성합니다.
- server.js 파일을 생성하고 아래와 같이 소스코드를 입력합니다.
// 1. mongoose 모듈 가져오기
var mongoose = require('mongoose');
// 2. testDB 세팅
mongoose.connect('mongodb://localhost:27017/testDB');
// 3. 연결된 testDB 사용
var db = mongoose.connection;
// 4. 연결 실패
db.on('error', function(){
    console.log('Connection Failed!');
});
// 5. 연결 성공
db.once('open', function() {
    console.log('Connected!');
});

// 6. Schema 생성. (혹시 스키마에 대한 개념이 없다면, 입력될 데이터의 타입이 정의된 DB 설계도 라고 생각하면 됩니다.)
var student = mongoose.Schema({
    name : 'string',
    address : 'string',
    age : 'number'
});

// 7. 정의된 스키마를 객체처럼 사용할 수 있도록 model() 함수로 컴파일
var Student = mongoose.model('Schema', student);

// 8. Student 객체를 new 로 생성해서 값을 입력
var newStudent = new Student({name:'Hong Gil Dong', address:'서울시 강남구 논현동', age:'22'});

// 9. 데이터 저장
newStudent.save(function(error, data){
    if(error){
        console.log(error);
    }else{
        console.log('Saved!')
    }
});

// 10. Student 레퍼런스 전체 데이터 가져오기
Student.find(function(error, students){
    console.log('--- Read all ---');
    if(error){
        console.log(error);
    }else{
        console.log(students);
    }
})

// 11. 특정 아이디값 가져오기
Student.findOne({_id:'585b777f7e2315063457e4ac'}, function(error,student){
    console.log('--- Read one ---');
    if(error){
        console.log(error);
    }else{
        console.log(student);
    }
});

// 12. 특정아이디 수정하기
Student.findById({_id:'585b777f7e2315063457e4ac'}, function(error,student){
    console.log('--- Update(PUT) ---');
    if(error){
        console.log(error);
    }else{
        student.name = '--modified--';
        student.save(function(error,modified_student){
            if(error){
                console.log(error);
            }else{
                console.log(modified_student);
            }
        });
    }
});

// 13. 삭제
Student.remove({_id:'585b7c4371110029b0f584a2'}, function(error,output){
    console.log('--- Delete ---');
    if(error){
        console.log(error);
    }

    /* ( SINCE DELETE OPERATION IS IDEMPOTENT, NO NEED TO SPECIFY )
        어떤 과정을 반복적으로 수행 하여도 결과가 동일하다. 삭제한 데이터를 다시 삭제하더라도, 존재하지 않는 데이터를 제거요청 하더라도 오류가 아니기 때문에
        이부분에 대한 처리는 필요없다. 그냥 삭제 된것으로 처리
        */
    console.log('--- deleted ---');
});